
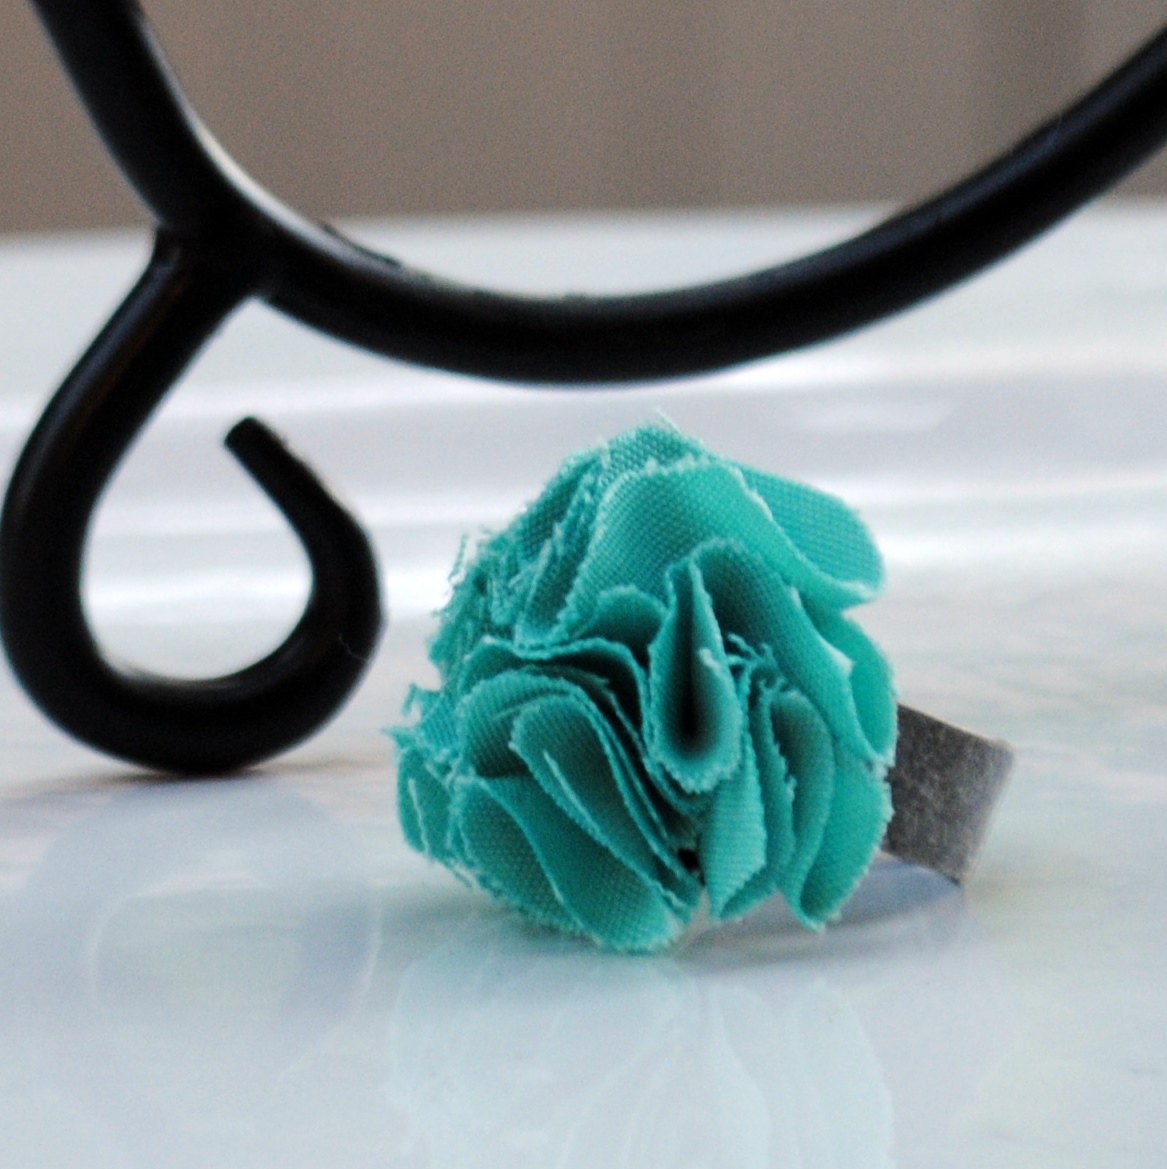
AND THE WINNER OF MADE BY MUNCHIE'S MAMA COCKTAIL RING IS.....
{drum roll please!!!}
Per random.org:
Comment #15
LISA!!!
Congrats!! Please be sure to contact me within 48 hours!
It's Thursday -Yahoo! That means I {we} have almost made it through this CRAZY week.
I haven't been around much to post this week due to work,
but I have a great bloggy bud that stepped up to the plate to guest post for me tonight.
She's cute, she's sweet, and the things she makes in her Etsy shop are to die for.
Talk about talent!
Let me tell ya, I ALMOST want to have another baby so
she can crochet me some little baby goodies ;)
Who is she??
She's MADE BY MUNCHIE'S MAMA, also known as Summer.
I can't wait for you guys to meet her...plus she wrote up a great tutorial for us
on how to make a burp cloth. Maybe that's another omen that I should have second little one?
And, just when you thought it couldn't get any better,
Summer is also giving away one of her handmade cocktail rings.
LOVE HER!
Ok, enough with the small talk, take it away Summer!
_________________________________________________________
{drum roll please!!!}
Per random.org:
Comment #15
LISA!!!
Congrats!! Please be sure to contact me within 48 hours!
It's Thursday -Yahoo! That means I {we} have almost made it through this CRAZY week.
I haven't been around much to post this week due to work,
but I have a great bloggy bud that stepped up to the plate to guest post for me tonight.
She's cute, she's sweet, and the things she makes in her Etsy shop are to die for.
Talk about talent!
Let me tell ya, I ALMOST want to have another baby so
she can crochet me some little baby goodies ;)
Who is she??
She's MADE BY MUNCHIE'S MAMA, also known as Summer.
I can't wait for you guys to meet her...plus she wrote up a great tutorial for us
on how to make a burp cloth. Maybe that's another omen that I should have second little one?
And, just when you thought it couldn't get any better,
Summer is also giving away one of her handmade cocktail rings.
LOVE HER!
Ok, enough with the small talk, take it away Summer!
_________________________________________________________
Hey there Punkin' Heads and Dooda Loo's readers!
I am so excited to be guest posting for Katie today.
She is such an amazing woman and so kind and thoughtful,
not to mention that her blog is super FAB!
My name is Summer and I have a blog called Made By Munchie's Mama.

We lovingly refer to our oldest son as Munchie
so Katie and I totally share a love for nicknames.
I am so excited to share this burp cloth tutorial with you all.

It is so simple takes hardly anytime at all.
These make a great little shower gift when you need
something on the fly and you could totally use
the scraps to make some adorable bows!
Here we go...

Supplies: 1 yard of cotton flannel {I used 1/2 yard each of coordinating patterns}, your favorite burp cloth to use as a pattern {or you can cut out a pattern with paper}, I love to use a rotary cutter and self healing mat, but scissors would work just fine.

Place 2 pieces of material together right sides out
and put your "pattern" on top.

Use your rotary cutter to cut around your pattern.
You can get about 4 burp cloths out of 1 yard of fabric,
just depending on what the size of your pattern is.

Pin your 2 pieces of material together so
that they don't shift during sewing.

Sew around the edge leaving about 1/4 inch seam allowance for fringe. You can do a straight stitch or something fun like my zig zag. You can even get fancy and use different color thread for the spool and bobbin to make different colors on top and bottom.

Now you have 4 burp cloths that are sewn together.
If you stop here, you will have a stringy mess on the edges
after a wash or two.

To avoid stringy mess mentioned above, snip little cuts all around the outside of the burp cloth about 1/4 inch apart. This makes a cute little fringed edge.
And there you have it. So simple: no turning inside out, no ironing, just cut, pin, stitch, and snip!

Here is a close up of the cute fringed edge.
And now on to the good stuff!
One lucky reader will win this turquoise cocktail ring from the Made By Munchies MamaEtsy Shop
Here is how you enter:
Mandatory - Be a public follower of Made By Munchies Mama & Punkin Heads and Dooda Loo's
Extra Entries:
Be a Facebook follower of Made By Munchies Mama & Punkin Heads and Dooda Loo's
Tweet or Facebook about this Giveaway
Please comment on this post for each entry you make
Giveaway will end Monday September 26th at 8pm!
Extra Entries:
Be a Facebook follower of Made By Munchies Mama & Punkin Heads and Dooda Loo's
Tweet or Facebook about this Giveaway
Please comment on this post for each entry you make
Giveaway will end Monday September 26th at 8pm!
Good Luck!!!


